

How To Smooth The Edges In Photoshop

Selecting and extracting elements such equally people or objects is i of the bones functions in Photoshop. However, when done in a hurry, the edges may non be detected properly and wait jagged and pixelated as a issue. Photoshop provides some useful setting options to soften the transition between edge pixels. In this tutorial, you volition learn how to utilise them.
Before you can mask or extract an chemical element in Photoshop, you lot take to select information technology first. If y'all are pressed for time and exercise a rushed selection, the edges may announced jagged or rough. To remedy this, Photoshop provides some interesting settings that deliver smoothen edges without major endeavour. They create great results in a short time.
What does a quick extraction of elements mean for the edges?
The Magic Wand or Quick Option Tool are ideal to quickly separate a subject from its background. Photoshop detects the edges around a subject area automatically and makes a option. If yous create a layer mask and cut out the field of study afterward, you will immediately observe jagged and pixelated edges. The edges may exist more or less well defined depending on the contrast between subject field and groundwork. You lot have to refine the edges to solve this problem.
Notation: The higher the resolution of the original photograph, the easier it is for Photoshop to correctly detect and select the edges.
Which subjects are platonic for a clean selection of the edges and cutting them out?

Bailiwick i:
The resolution of the palm copse is very high and also the dissimilarity is sufficient for cutting out. However, using the Quick Selection or Magic Wand Tool, it would take ages to select every unmarried leafage of the palm tree. Therefore, another cut out method should exist preferred in this case.
Conclusion: The subject is not suitable to exist cut out quickly.
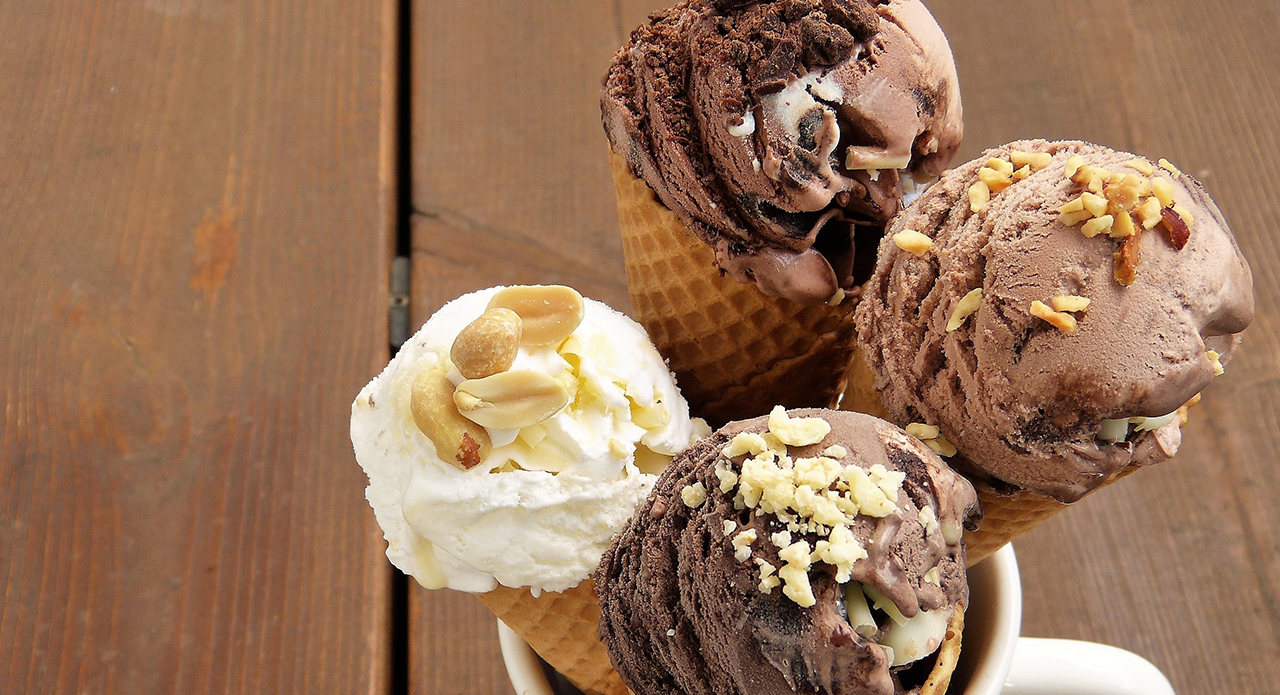
Field of study ii:
The ice-cream cone photo, too, has high resolution and stark contrast. Basically, nothing speaks confronting cutting out the subject in a rush. Only if y'all take a closer await at the individual scoops, you will observe that the ice crystals are visible and that the edges of the scoops are not entirely shine. When editing the photograph, the edges would be smoothed automatically, creating an unrealistic effect.
Decision: The subject is not ideal to be cut out apace.
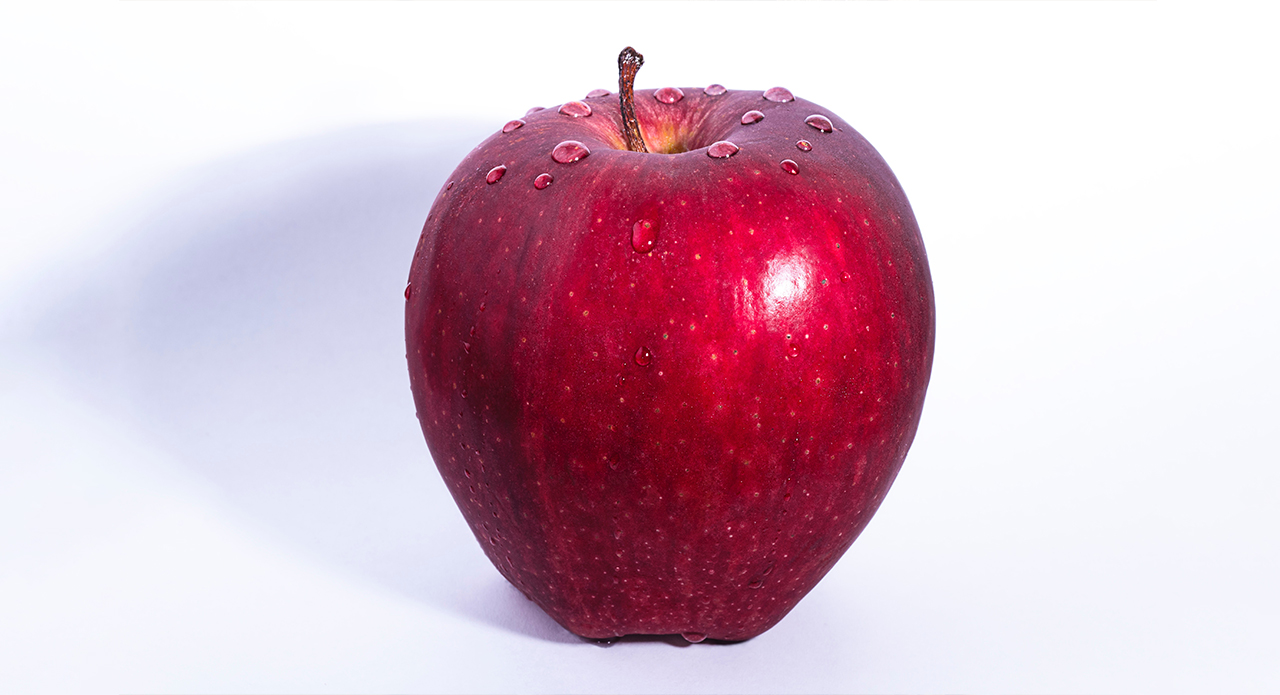
Discipline 3:
The apple has a very high resolution and the contrast of the red apple against the white background is virtually perfect. Compared to the water ice scoops, the subject has a conspicuously defined structure and also the h2o drops are ultra-abrupt.
Conclusion: Ideal conditions for cut out in Photoshop.
Text tutorial
Step 1: Select the subject
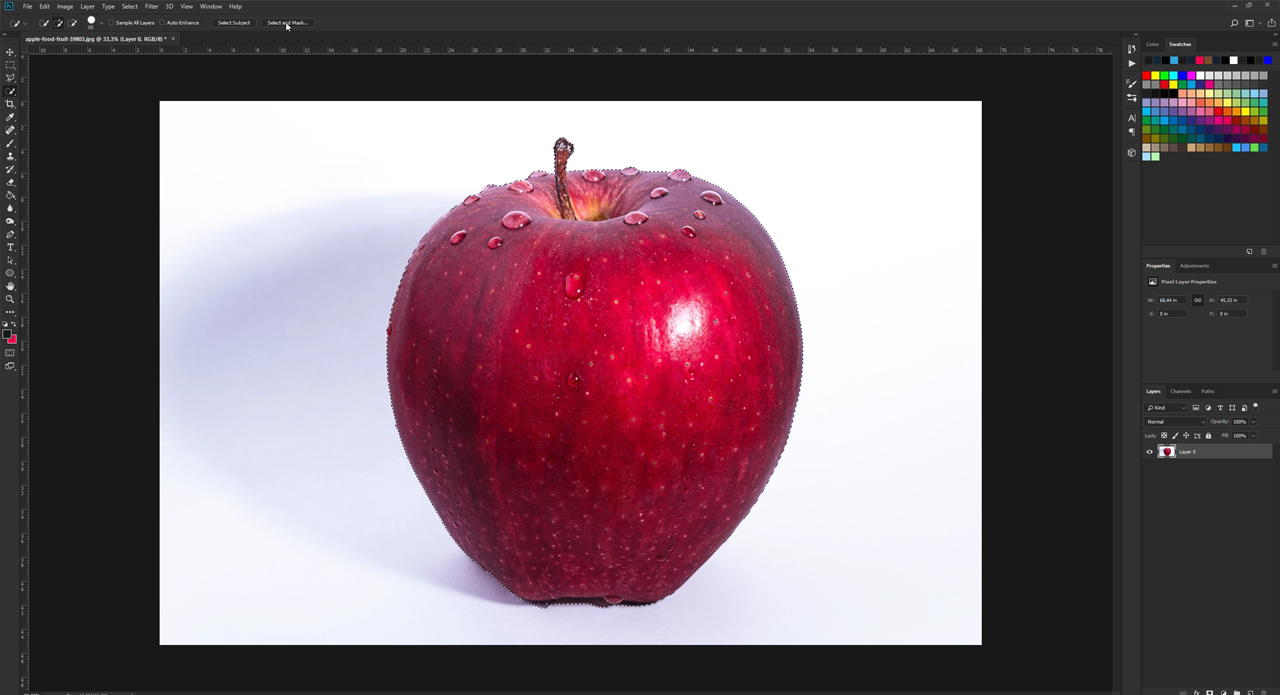
In the example, nosotros want to separate the apple quickly from the background with the best possible event. To do so, choose theQuick Selection Tool from the toolbox, and belongings the left mouse push button down, pigment over the subject until Photoshop has created a complete selection. Make sure to include details such as the h2o drops in the option. If Photoshop accidentally selects unwanted content, paint over the area in question holding the Alt fundamental pressed. The more you zoom in on the discipline, the easier it is to redraw the edges to "bear witness" Photoshop what to select.
Stride 2: Smooth the edges using "Select and Mask"
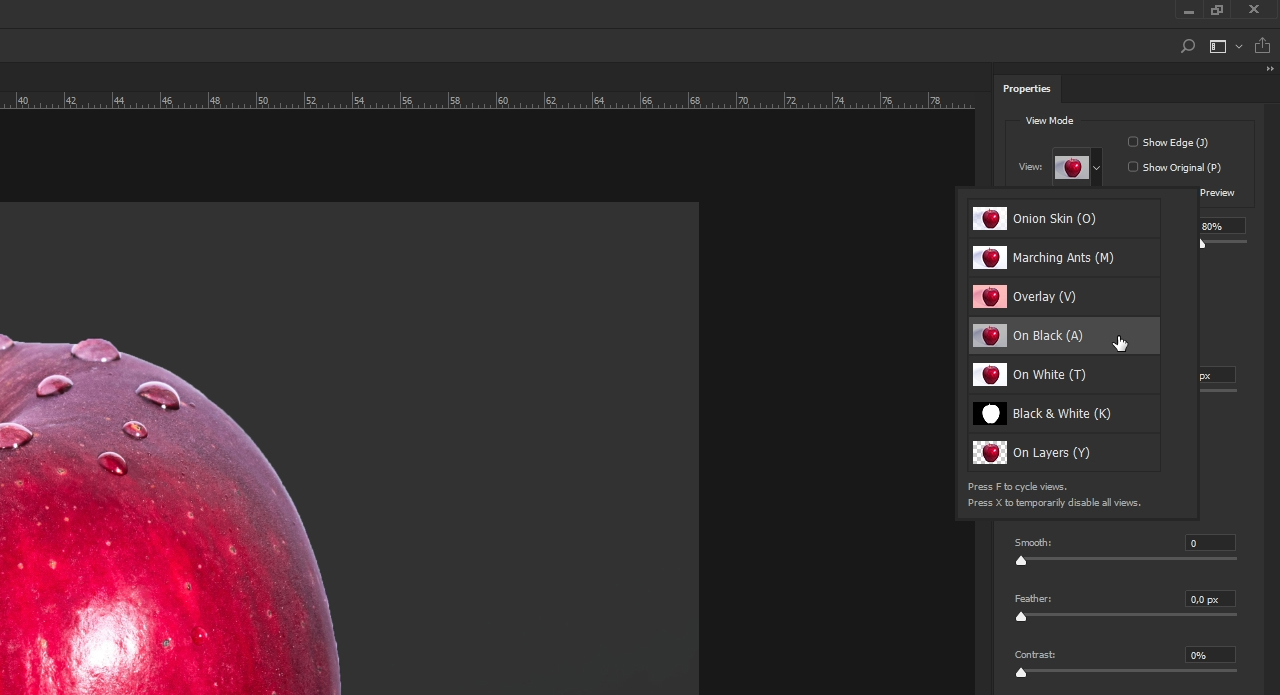
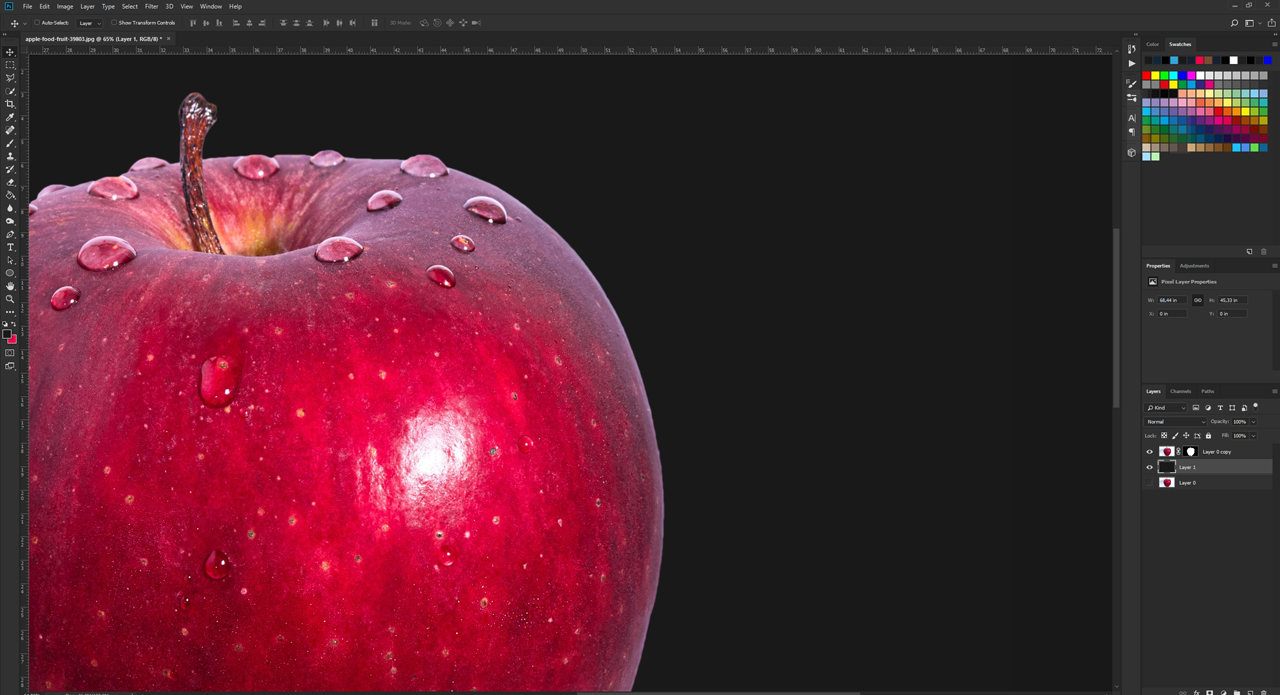
After yous have selected your complete subject, click theSelect and Mask button in the menu. If you choose the Overlay view, selected areas appear transparent and nonselected areas are highlighted in red. But to polish the edges, a different view is better suited. Go to theView drop-down menu to change the view. In our example, the view is prepare toOn Black with 80 per cent opacity. The edges of the apple are now clearly visible. Side by side, zoom in on an area where the jagged edges are particularly noticeable.
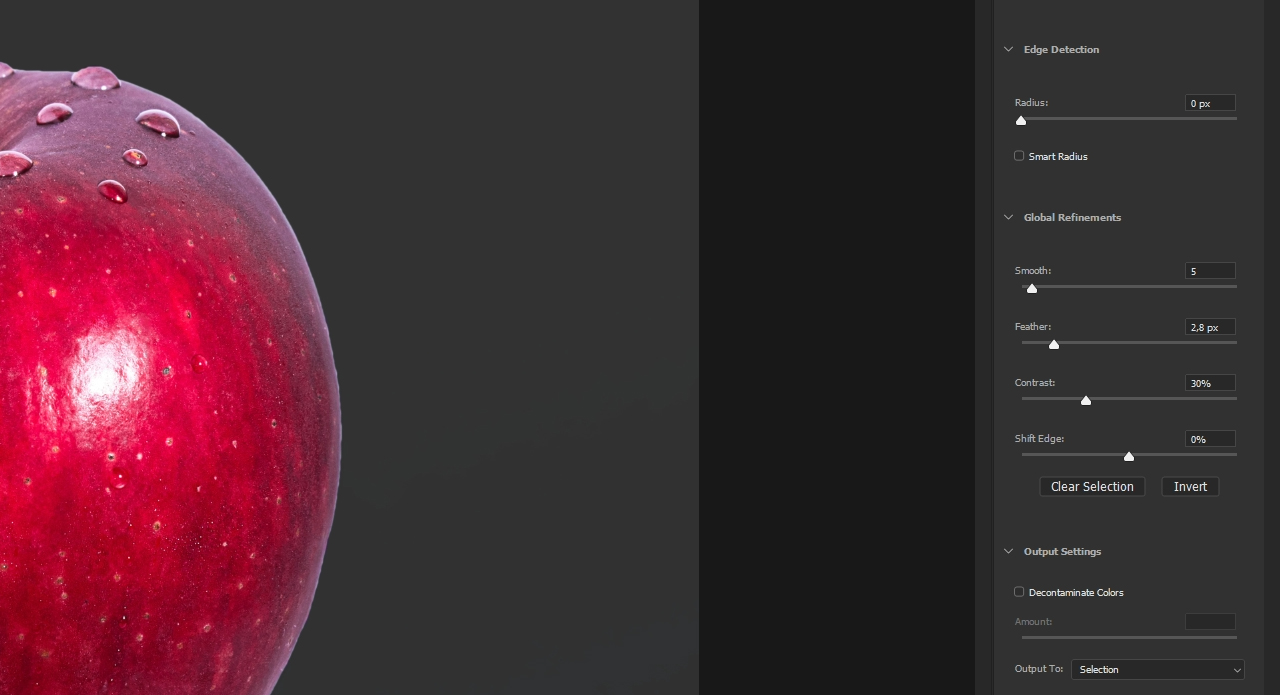
To smooth the edge, move the slider in theGlobal Refinements surface area. Commencement, nosotros desire to eliminate the jagged event. To practice so, move theSmooth slider to a value between 3 and 6. In our example, we ready the value to 5. Next, we are going to soften the edge. To do so, set thePlume slider to a value between 2 and 3. Here, we utilize avalue of 2.8. By increasing the Contrast slider, the edge is drawn more sharply to separate the calorie-free-coloured background fifty-fifty more effectively from the cherry-red apple. In our example, we set the value to xxx. We don't need the Shift Edge slider since nosotros do non want to add more groundwork or remove apple tree content.
Stride 3: Output of the cut-out and edited subject
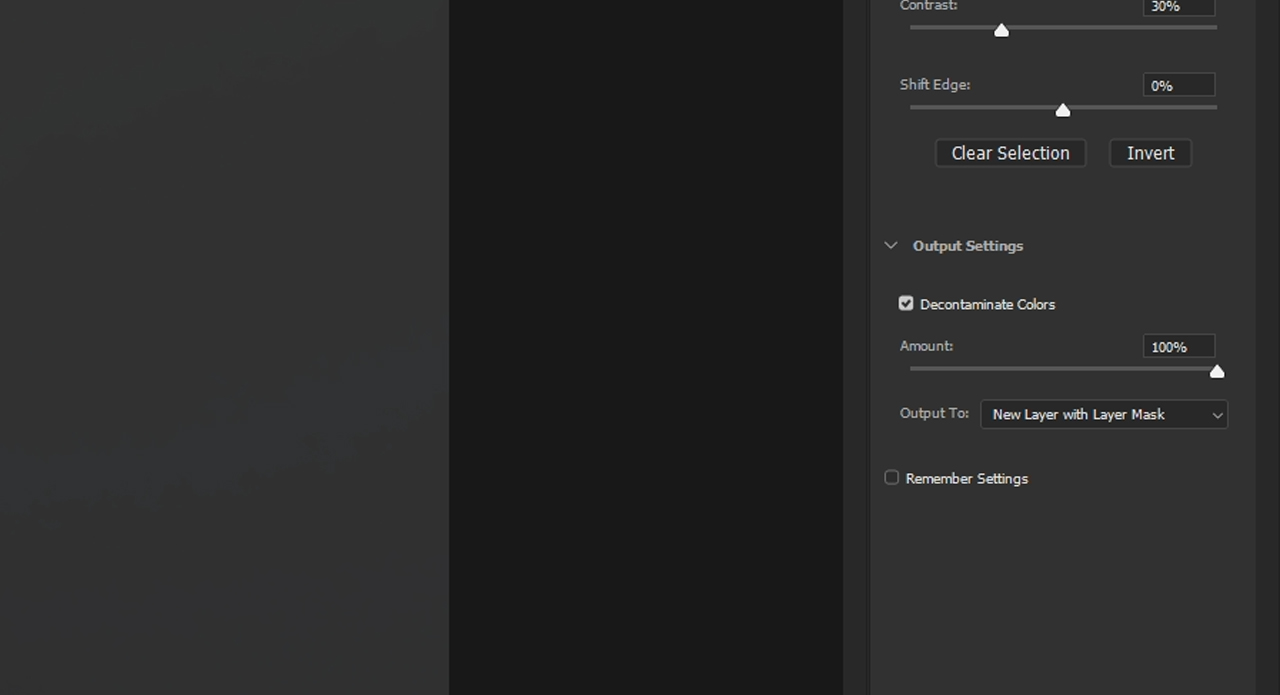
Finally, enable theDecontaminate Colors checkbox. This activates a thin black frame at the edited edge which will, still, disappear once confirmed. Also, when yous enable theDecontaminate Colors choice, the subject volition be output directly with a new layer including layer mask. After you have done this, ostend the workspace withOK.
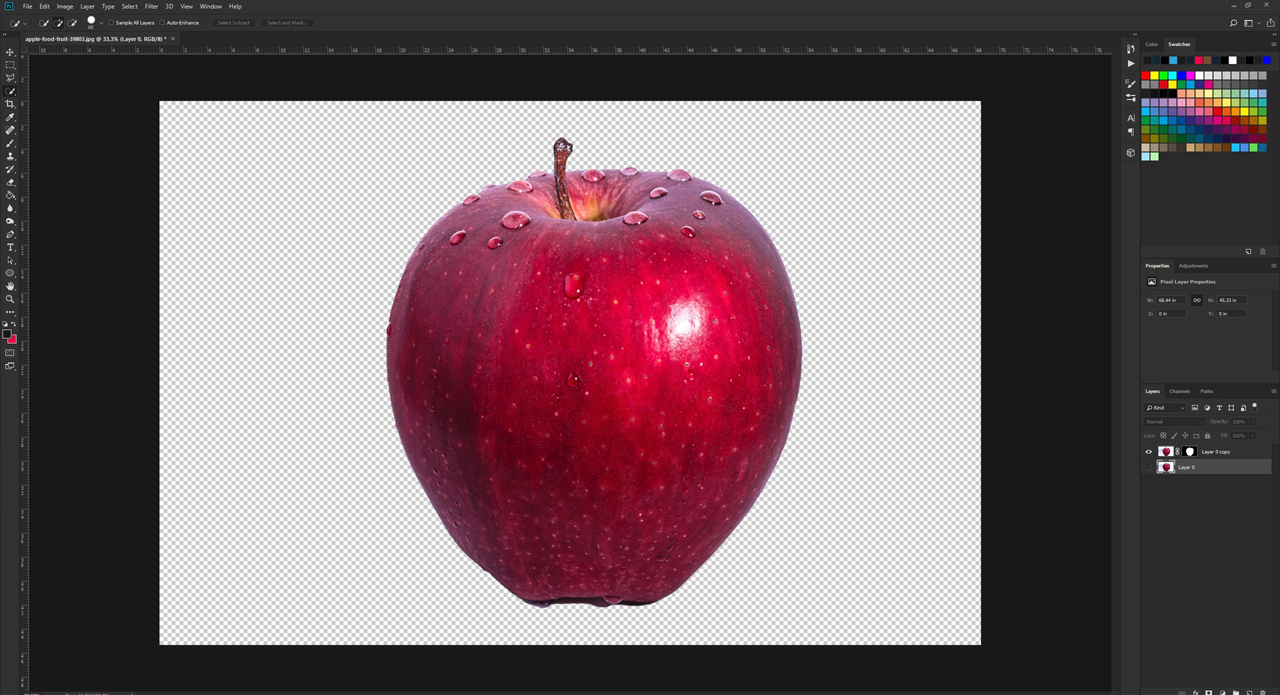
You lot at present see your extracted subject. To view the final result, create anew layer and fill up it with whatsoever colour. One time the background has been coloured, y'all will see that the edges of the apple appear smoother than earlier.
Yous have completed editing and can now continue working on your separated subject.
Credits:
Tutorial and pattern by media designer Christoph Ullrich.

How To Smooth The Edges In Photoshop,
Source: https://www.onlineprinters.co.uk/magazine/smooth-edges/
Posted by: gibbsclun1937.blogspot.com
0 Response to "How To Smooth The Edges In Photoshop"
Post a Comment